Categories
celebrate play things to do

Merry Christmas!

Hope you all had a wonderful and eventful 2012! I know we sure did, and we even survived another end of the world fake out, we’re still here:)Since we’re still here, you get the wonderful opportunity to see another masterpiece of ours. If you don’t know what you have happened upon, we do an annual Christmas card film. Here are all of our past years’ films if you haven’t seen them: 20112011 bloopers20102009 & 2008.

enjoy!!

Oh, and be sure to have your 3d glasses ready…

Categories
eat things to do

You are what you eat part 2

this is part two in a series on healthy eating. read part 1 here.

one thing you should know about me is that i hate wasting food, time and money…i realize that most people are that way too so if you feel the same way, you’re in good company! when we started our venture, i wanted to find good ways to make habits that were not time consuming or expensive or i would just give them up. (yes, i really am that undisciplined!)

meat

this is one thing we’ve gotten a lot of questions about, how we do meat on this diet. we buy organic free range chicken, grass fed beef, and all natural pork products (like hot dogs and bacon). we buy all of our meat at jimbo’s and trader joe’s. sometimes at sprouts or costco when we hear that they have something in that meets the requirements!

so, isn’t all that kind of meat super expensive? yes, it is more expensive than regular meat, BUT we’ve figured out some ways to make the meat last longer than usual. so here’s what we do:

buy an organic free range whole chicken…what? a whole chicken?! yes, a whole chicken. if you’ve never made one, you’re in for a pleasant surprise, they’re super easy and taste just like the cooked ones you buy whole at vons, albertsons or costco, plus they make your house smell like what i think martha stewart’s house might smell like. so why don’t we just buy one of the ready made chickens? first of all they aren’t organic/free range/hormone free (they might be but they don’t advertise that they are). and if you read the ingredients, they do not use all natural ingredients to cook/season their whole chickens.

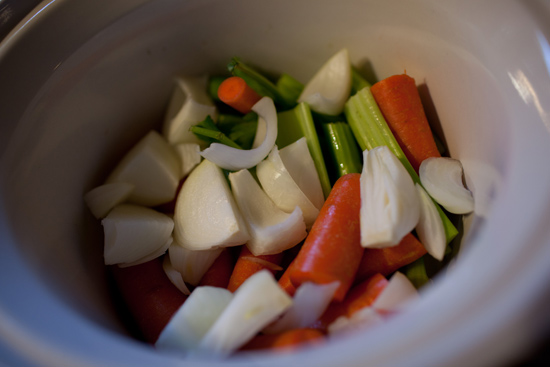
1. get out your crock pot, cut up 4-5 organic carrots, 3-4 stalks of organic celery and an organic onion and put them in the pot.
2. unwrap your chicken (this is the hardest part for me because touching raw chicken is one of the most disgusting things in life – first world problems i know!) remove any giblets that came with it (heart, liver, neck etc..) don’t throw those away though because although we don’t eat them i let them cook with the chicken so we can get some of the nutrients. also i give the heart and liver to my dog afterward and she LOVES them!

3. rinse off the chicken and then rub it with garlic inside and out. then rub the chicken with seasoning. you can use any kind of seasoning you want but i like doing one that is more neutral so that we can use the leftover meat for other dishes later in the week. here’s what i season with (recipe from this site):

4 tsp salt
2 tsp paprika
1 tsp cayenne pepper
1 tsp onion powder
1 tsp thyme
1 tsp white pepper
1/2 tsp garlic powder
1/2 tsp black pepper

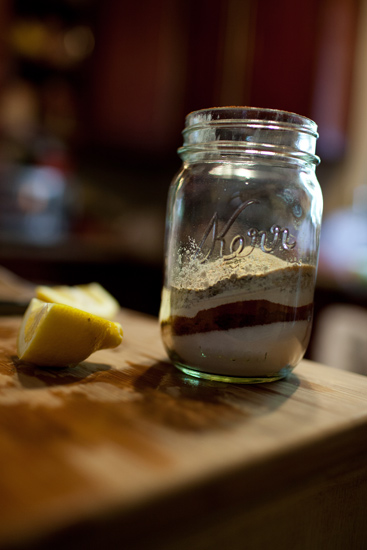
i mix together this recipe x4 and put it in a jar so that i only have to spend the time mixing all these ingredients once every 4 chickens (i thought of that one myself 🙂

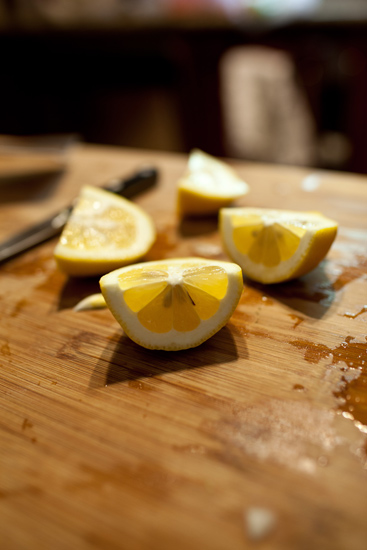
*optional – put a quartered lemon inside, i have done it both ways, and jared likes it better without so there you have it!
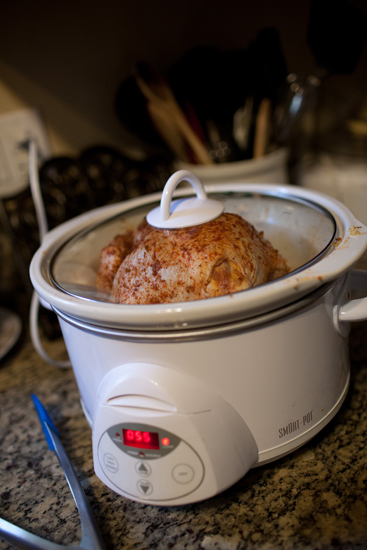
plop the chicken in the slow cooker on low for 4-8 hours depending on weight, a 4 lb chicken usually takes about 6 hours. just make sure that the temp is 160 degrees to be sure it’s done. this recipe calls for broiling it afterward but i never do that and it’s delicious.
once it’s done we eat it with a salad and some potatoes, jared eats plain and i like sweet 🙂
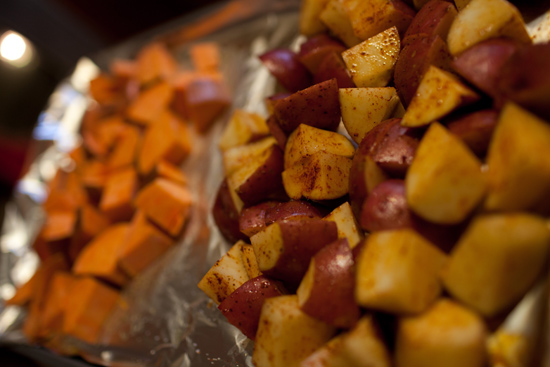
then i go about making this puppy last! once we’re done eating, i pick all the chicken off the bones and store it in an airtight container in the fridge. this shredded chicken lasts for 2-3 more recipes that usually yield leftovers (for a family of 2) so we really get quite a few meals out of one chicken. we’ve made bbq chicken pizza, tacos, chicken bakes, enchiladas, pretty much anything you can think to do with leftover chicken.

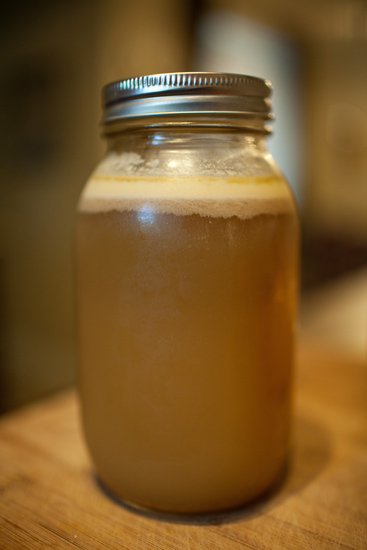
after i’ve stripped the bones, i dump the whole crock pot full of carcass and veges into a pot on the stove. i have a really great feature on my pot and it has a strainer that fits in it so that when i’m all done it’s easy to throw everything away and just have broth left. then i put enough water in the pot to cover all the food but don’t fill it too high or it will boil out. i boil that for about 2-3 hours and voila, homemade organic chicken stock! with the chicken stock, you can make chicken tortilla soup (with leftover chicken), any other type of broth or even pureed vegetable soups, or rice or couscous.

i know it sounds like a lot of time 2-3 hours, but you are just letting it sit there and do it’s thing while you can do laundry or watch tv.

look at that golden deliciousness!
read part three here

Categories
craft things to do

Project thanksgiving favors

i LOVE hosting…parties, showers, holidays…LOVE! so two years ago for thanksgiving we hosted and i thought it would be fun to have a little favor for all our guests 🙂 i decided on making something out of material because i really really wanted to learn how to use my new sewing machine and i figured what better way than to have a deadline.

i actually found a pattern online, can’t remember where but hopefully i can explain enough with photos. i also didn’t take photos of some steps so i’ll have to explain some of them, oops! there will be tips along the way and the full instructions at the bottom…hope you enjoy! i certainly love pulling out my little pumpkins each year.

the simplest and most tedious part of this craft is cutting all the material! i wanted lots of different types of colors so that the pumpkins would each be unique so i bought fat quarters instead of yards so i would have just enough and not a bunch of extra material. many times people ask me how i have time for all this stuff. jared and i like watching movies and tv shows, but i am not the kind of person that can just sit and watch something, i have to be doing something else…so i cut or sew or paint or any number of things i’m hoping to share on here at some point! i never have time to just dedicate to crafting.

these are the stems and leaves. the leaf pattern you can make yourself by drawing onto a piece of cardboard and then using that to cut the fabric. or you can probably find a good leaf from google images if you can’t draw. and then the stems are just made out of little squares that i hand sewed together into a cylinder. the idea that i had found did hand sewing on the leaf too to give it veins but i didn’t want to spend the time and i think they look cute as is.

Full Instructions:

1. cut long skinny ovals (like the above photo) out of fabric. cut 8 per pumpkin you’d like to make. make sure that the way the fabric stretches is the long way not the short way.

2. cut squares out of brown felt for the stems and leaf shapes from green felt for the leaves. hand sew the stem together and add veins in the leaves if desired.

3. with the sewing machine sew two of the pieces of fabric together on the inside side, making sure to leave the excess thread long on both ends (you will use these later). i also used two colors/designs of fabric so make sure to alternate if you are doing the same. continue this until you have four pieces sewn together. then repeat the process with the other four pieces, make sure for each that you keep the tips close together so that they aren’t mismatched. on either side sew in the stem and the leaf as well.

4. now you have two pieces, each with four ovals sewn together and one of the sides has a leaf and stem. sew them together on one side, and then most of the way on the other side, leaving room to turn it inside out. i found that leaving the hole on the bottom of the pumpkin made it easier to hide my hand stitching and i also made sure it didn’t go all the way to the tip of either end so that the bottom and top are completely closed (my first couple didn’t look so great so i learned this the hard way).

5. before you turn it right side in, take all the loose thread pieces and tie the top ones to the bottom ones, this will help to keep the pumpkin in more of a pumpkin shape than a circle. i really should have taken a photo of this because it’s hard to explain, but just play around with it, you’ll figure it out 🙂

6. turn pumpkin right side in and get super duper excited because it looks awesome!

7. fill with stuffing – i thought about filling some with potpourri or something spicy but didn’t…

8. hand sew the fill hole closed and you’re done!!
here’s what my table looked like with all the place settings. i love how they turned out!
mostly everyone loved the pumpkins, but then there’s always the fact that we live in the real world. for me that means i have brothers, and they threw the pumpkins at each other all evening…le sigh
enjoy! and happy thanksgiving!
Categories
europe places to go

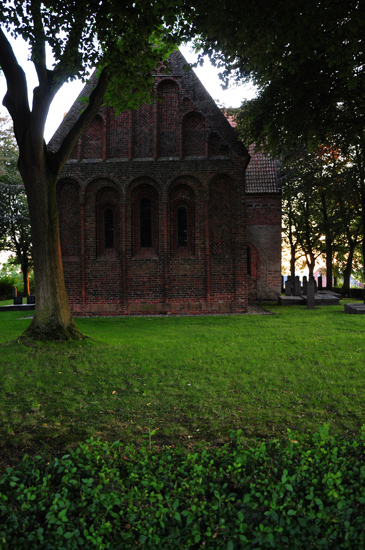
Winneweer, Holland – ’09

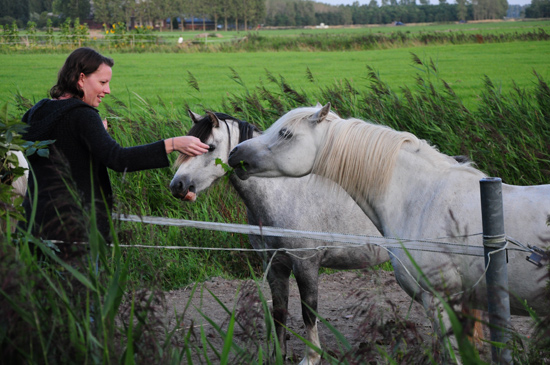
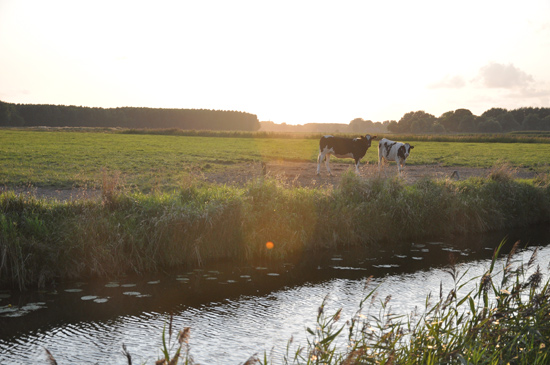
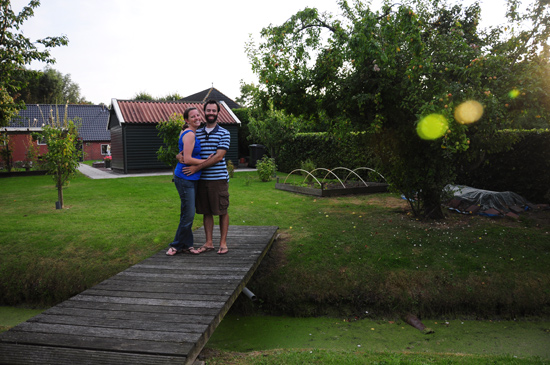
holland…or the netherlands…discovering my roots! i’m half dutch and still have some relatives over here so we went to visit 🙂

here are some excerpts from my travel journal:

one phrase to sum up this leg of our journey – lost in translation

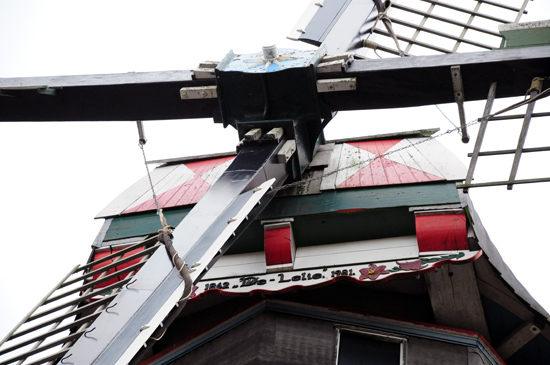
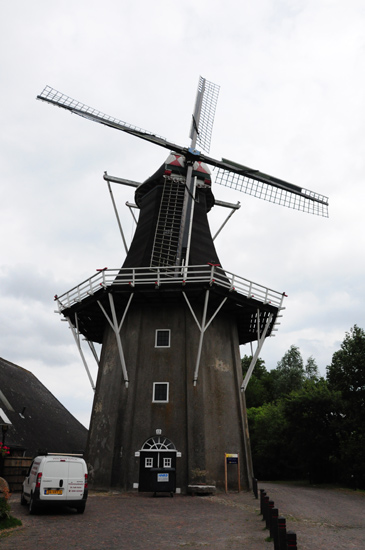
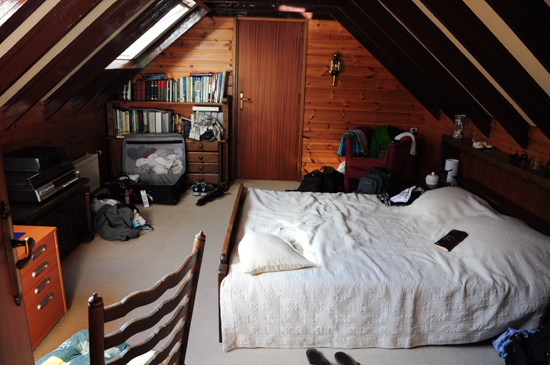
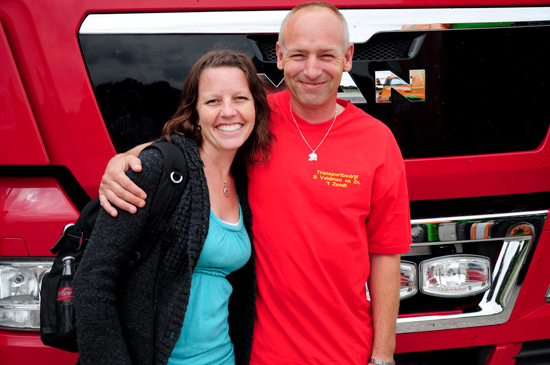
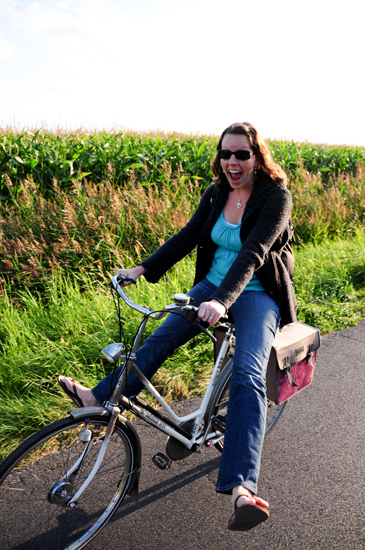
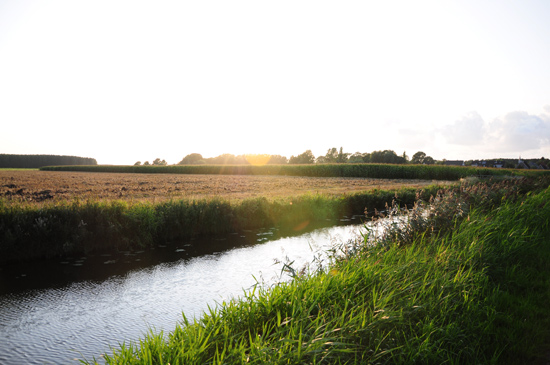
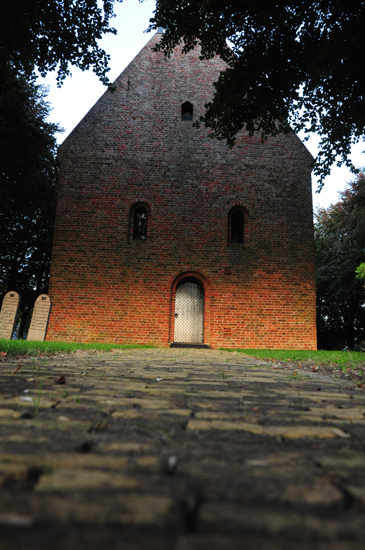
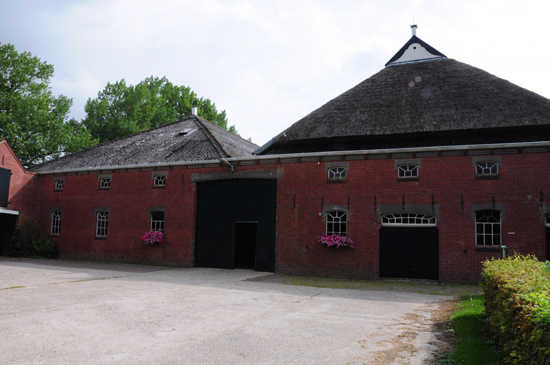
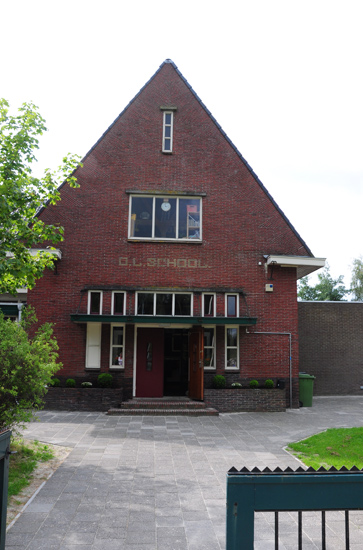
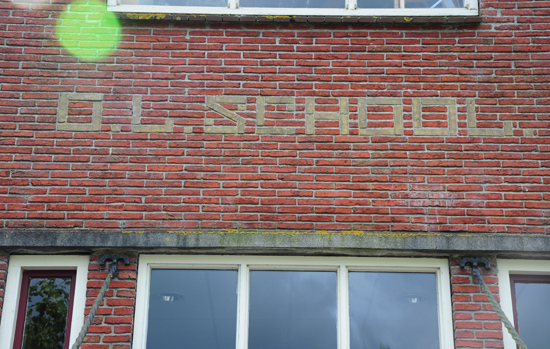
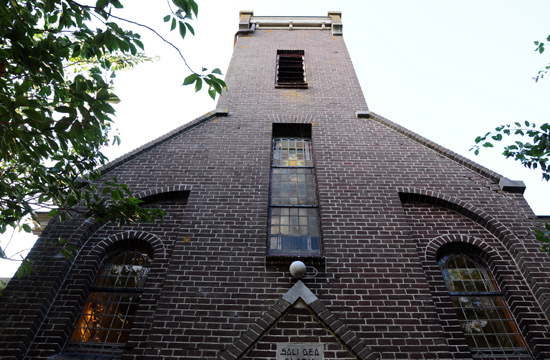
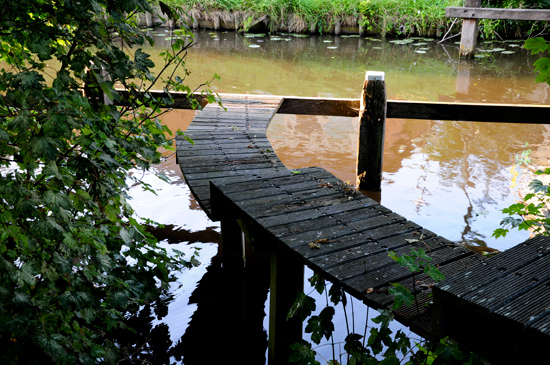
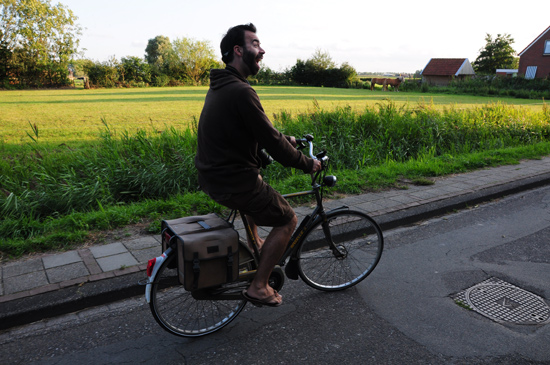
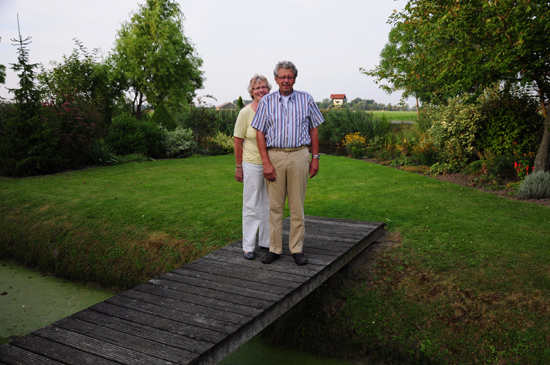
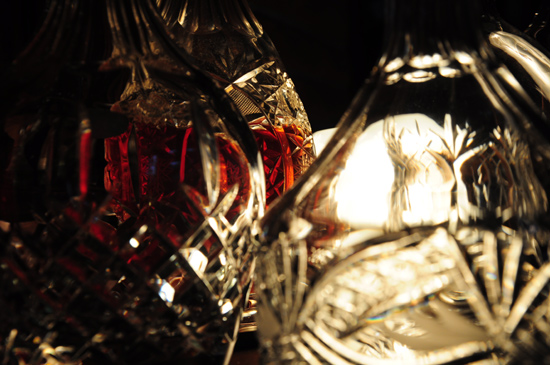
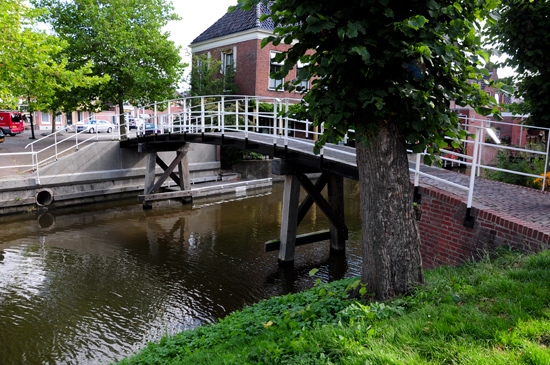
we took the train from berlin to gronigen where we accidently got off a stop too early. we called tante dicky [my great aunt] but i guess she only gave me her home phone number so we started fast walking to the next station 2km away. when we got there, we found her and oom henk a little worried. i guess they had called us over the p.a… embarrassing! We drove to winneweer from there, settled into our room which was their finished attic and rested. in the afternoon they took us on a drive. we went to the harbor and saw a couple ‘tall boats’ that were coming from around the world for a festival. we also drove through EVERY village along the way to check out their churches and surrounding buildings. the next day, we saw the farm where my opa met my oma [grandpa and grandma], where my opa went to school and where he went to church. we also got to meet my second cousin and got to (were forced to) sit in his big rig (it’s kind of a big deal so we just went along for the ride, ha!) we also took a bike ride around the beautiful little town and saw a graveyard where some of the family is buried. tante dicky makes homemade liquor and so we enjoyed that while trying to figure out why there are two names for the country. they must have explained it 3 times and we still can’t figure it out. that, along with some other explanations, were definitely lost in translation. but that’s the beauty of traveling and adventuring. you can’t always figure out what’s going on, but you enjoy the ride!


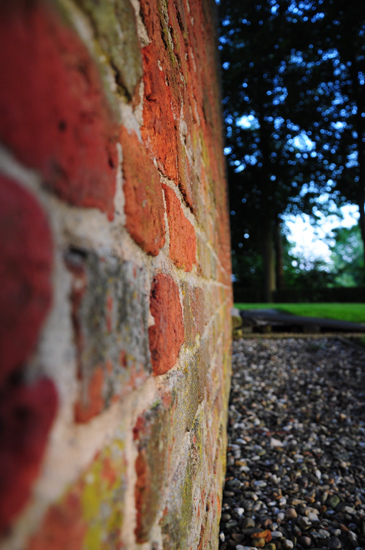
btw, the picture below is straight, but the buildings and roads are so old that they are sinking!

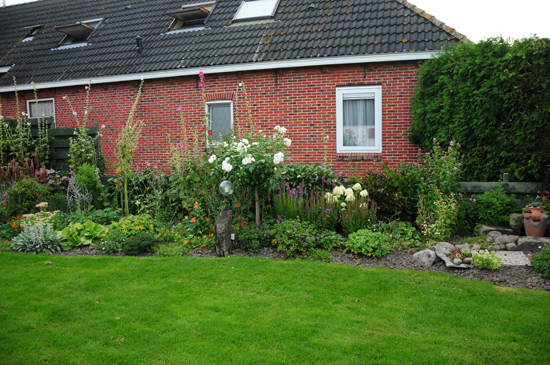
my aunt and uncle’s house, isn’t it beautiful!! i LOVE LOVE their backyard but have to keep reminding myself that this was in the middle of summer so i’m sure i wouldn’t love it in the middle of winter 🙂


Categories
play things to do

happy halloween from us!

morticia and gomez addams – dress and jacket from goodwill, wig bought online, other details from around the hous

Categories
eat things to do

you are what you eat part 1

eating healthy.

jared and i have made some big life changes since the spring. we’ve always been relatively healthy eaters, but we decided to make an actual effort to actively choose all the food that goes into our bodies. these bodies were given to us to take care of, and we were doing a B- job of it. some of our friends have asked us to share how we handle our all natural diet, so i’ll split it up over a couple blog posts 🙂 here’s where we started…

what we cut out:

preservatives, artificial food coloring, artificial flavors, high fructose corn syrup, corn syrup, hydrogenated oils, soy, hormones, gmos (when possible), and artificial sweeteners (which we cut out long ago, see here)

what we’ve reduced:

wheat and corn products, refined sugars and processed foods in general (mainly because they include some or all of the above items)

what we’ve added:

fruits and vegetables (we never got enough vegetables), organic hormone free and grass fed meats, vitamins and herbs

it seems like a lot in a list but really it’s simple. we eat food that’s minimally processed, has all natural ingredients, and is organic and gmo free when possible…basically not taking any shortcuts. it’s behavior modification. it takes a little time at first, but when you get into good habits, it becomes easy. we’ve been at it for about 7 months now and it’s been great. some of you were following when i was doing my cooking posts incorporating vegetables so really this started even longer ago. i was trying to actively learn to cook because i realized that we eat much healthier when i’m cooking. the funny thing is that when we made this new change, i realized it’s a good thing i was trying to get in the habit of cooking because i pretty much have to cook to be able to control this new habit.

what we’ve learned:

the chemicals/food that we chose to cut out is pretty much in every processed food

it’s very hard to find bread with minimal ingredients (stay tuned, i may be looking to make my own at this point!)

it’s very hard to find meat (stay tuned, blog about this coming up)

it’s very easy to find good produce, california is awesome at farmer’s markets and jimbo’s has all organic produce (which makes it easy by not having to read labels)

shopping took more than twice as long when i first started, but now it’s back to a normal time (stay tuned for a post about where i buy things)

i thought eating organically and healthy would be more expensive but it’s turning out to be negligible (there will be bits and pieces about cost throughout subsequent posts)

so there you have it, feel free to ask questions or let me know what you want to hear about.

read part two here